Login into the eZ Publish administration interface
Navigate over eZ Publish content structure and find content that you want to create a test scenario for.
Select Testing tab as presented on illustration 1
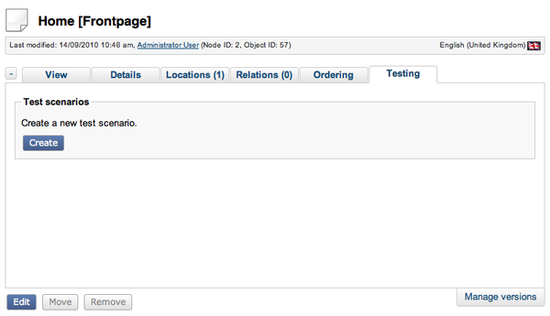
Illustration 1
In order to create a new test scenario, click on the “Create” button
In the next screen, fill the input field with a test scenario name and toggle check-box to enabled state as presented in illustration 2
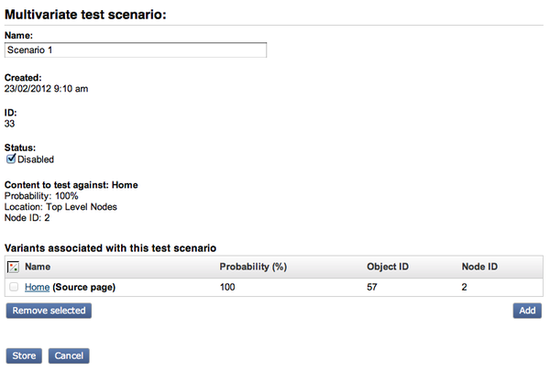
Illustration 2
In order to associate different page variants with the current test scenario, click on the “Add” button located on the right hand side below the table.
In the standard eZ Publish browse mode, navigate over the eZ Publish content tree and select proper page variants as presented in illustration 3.

Illustration 3
Once the test page variants have been added to your test scenario you need to define a probability of which test item will be displayed to the end user as presented in illustration 4.
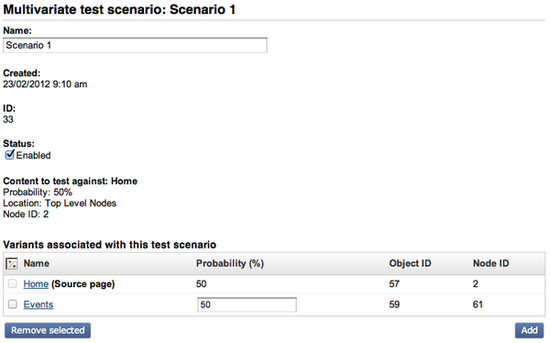
Illustration 4
Total probability value can not exceed 100 limit, otherwise validation message will be shown as presented on the illustration 5.
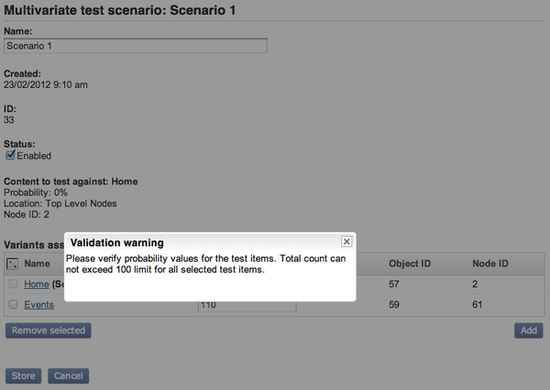
Illustration 5
Once you are done with defining you test scenario, click on the “Store” button to save changes.