Installing an eZ Publish bundle on Windows
This section describes how to deploy an eZ Publish bundle on a Windows based operating system.
Important note about services
When installing under Windows, you have to be sure that there are no services running/listening on port 80 and 3306 (which are the default ports for HTTP and MySQL traffic). Services listening on these ports should be stopped. If Apache or MySQL is already installed, then the installer will replace these services with the services that are included in the bundle. Existing installations of Apache and MySQL will not be deleted or removed, only the services will be stopped and replaced.
Downloading the eZ Publish bundle
The eZ Publish bundle can be downloaded from http://ez.no/download/ez_publish. The bundle for Windows (95/98/ME/NT/2000/XP) is called something like "ezpublish-3.8.x-gpl_installer.exe".
Starting the installation wizard
When installing on Windows NT, 2000 or XP, make sure you're logged in with a user that has administrator privileges (preferably the "Administrator" user). Start the install wizard by clicking on its icon (double or single click depending on your settings).
Welcome dialog

Step 1: Welcome dialog
This is the initial screen. Click "Next" to continue.
Component selection

Step 2: Component selection
The wizard will show a list of the components that will be installed. The installation of the PHP cache (MM Cache) is optional. Click "Next" to continue.
Destination folder

Step 3: Destination folder
Choose a destination folder, everything will be put in here. Click "Next" to continue.
Start menu

Step 4: Start menu
Choose a start menu folder for the program shortcuts. You may also choose not to create the shortcuts. Click "Next" to continue.
Actual installation

Step 5: Installation in progress
Please wait while the wizard copies/installs the files.
The end
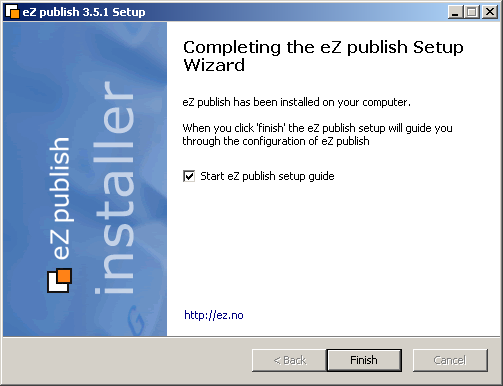
Step 6: Completion
This is the final screen. The installation has finished. Click "Finish" to end/close the wizard.
The eZ Publish setup wizard has to be run after the installation is finished (it will automatically start the first time the site is browsed). The setup wizard is self-explaining and is used to configure the eZ Publish system. You should be able to follow the instructions on the screen. Please refer to "The setup wizard" section for more information.
Balazs Halasy (14/01/2005 8:47 am)
Julia Shymova (18/12/2007 11:13 am)
Comments
There are no comments.